


Electric Vehicle Charger Installation Guide for Homeowners
As electric vehicles (EVs) become increasingly popular, more homeowners are looking to install EV chargers at home. This guide provides detailed steps and considerations to ensure a smooth installation process.
1. Understanding Your Charging Needs
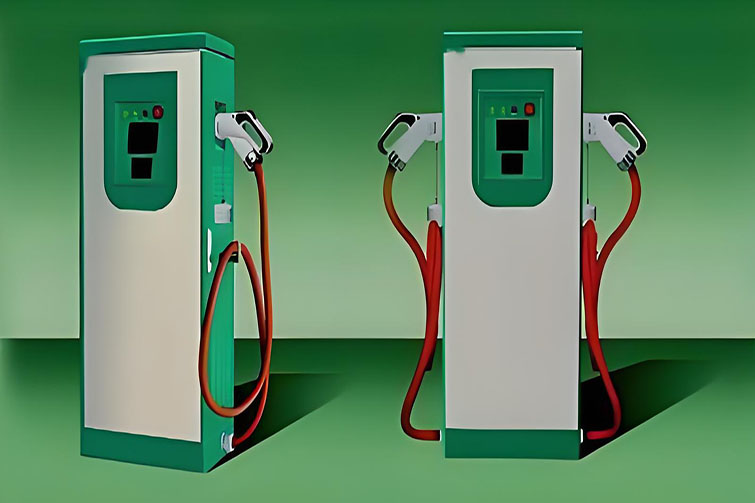
Before you start, it's important to understand your specific charging needs. EV chargers come in two main types: Level 1 and Level 2.
- Level 1 Chargers: These use a standard 120-volt outlet and typically provide 3-5 miles of range per hour of charging. They are suitable for overnight charging and for those who drive shorter distances.
- Level 2 Chargers: These require a 240-volt outlet and can provide 10-60 miles of range per hour of charging, depending on the charger and vehicle. They are ideal for faster charging and for those who drive longer distances.
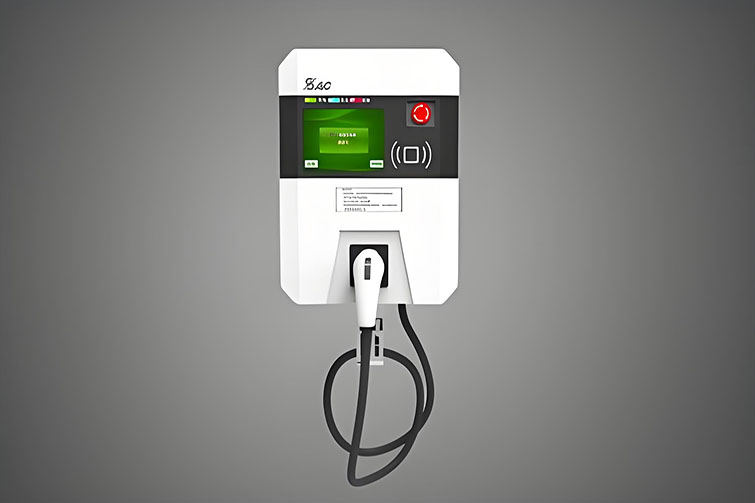
2. Choosing the Right Charger
When selecting an EV charger, consider the following factors:
- Compatibility: Ensure the charger is compatible with your specific EV model.
- Power Output: Higher power output means faster charging, but also higher costs.
- Smart Features: Some chargers come with Wi-Fi connectivity, allowing you to monitor and control charging via an app.
- Cord Length: Make sure the cord is long enough to reach your car from the outlet.
3. Preparing for Installation
Once you've chosen your charger, you need to prepare for installation:
- Location: Decide where to install the charger. Common locations include inside garages or on exterior walls near driveways.
- Electrical Capacity: Check your home's electrical panel to ensure it can handle the additional load. You may need to upgrade the panel if it's outdated or if additional circuits are required.
- Permits and Regulations: Check local building codes and regulations. Some areas may require permits for installation.
4. Hiring a Professional Electrician
While some homeowners may feel comfortable with DIY projects, installing an EV charger typically requires professional expertise. An electrician can:
- Assess Electrical System: Evaluate your home's electrical capacity and recommend any necessary upgrades.
- Install New Circuit: Run a new 240-volt circuit to the charger location.
- Ensure Safety: Ensure all wiring and connections meet safety standards and local codes.
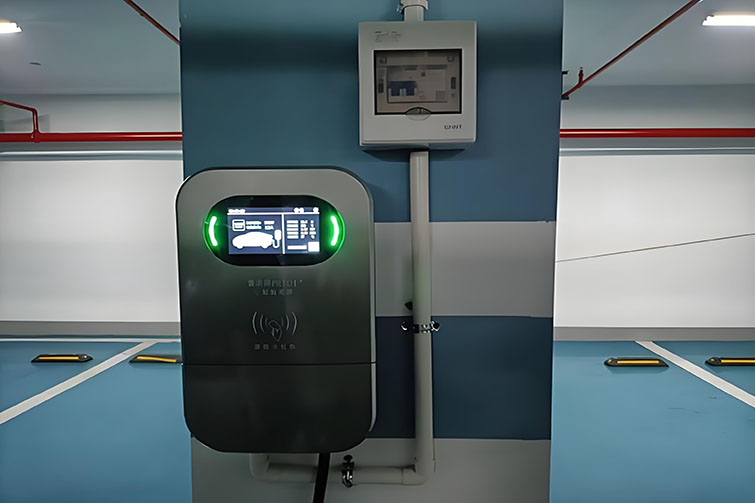
5. Installation Process
The installation process generally includes:
- Site Assessment: The electrician will evaluate your chosen location and electrical panel.
- Running Wires: The electrician will run the necessary wiring from your electrical panel to the charging location.
- Mounting the Charger: The charger will be securely mounted on the wall.
- Connecting and Testing: The charger will be connected to the power supply and tested to ensure it operates correctly.
6. Post-Installation Tips
After installation, follow these tips to maintain your EV charger:
- Regular Inspections: Periodically check the charger and wiring for any signs of wear or damage.
- Cleaning: Keep the charger and surrounding area clean and free of debris.
- Usage Monitoring: Use any available monitoring features to track your charging habits and optimize usage.
Conclusion
Installing an EV charger at home requires careful planning and professional assistance to ensure safety and functionality. By understanding your charging needs, choosing the right charger, and following the proper installation steps, you can enjoy the convenience and benefits of home EV charging.
Related Posts